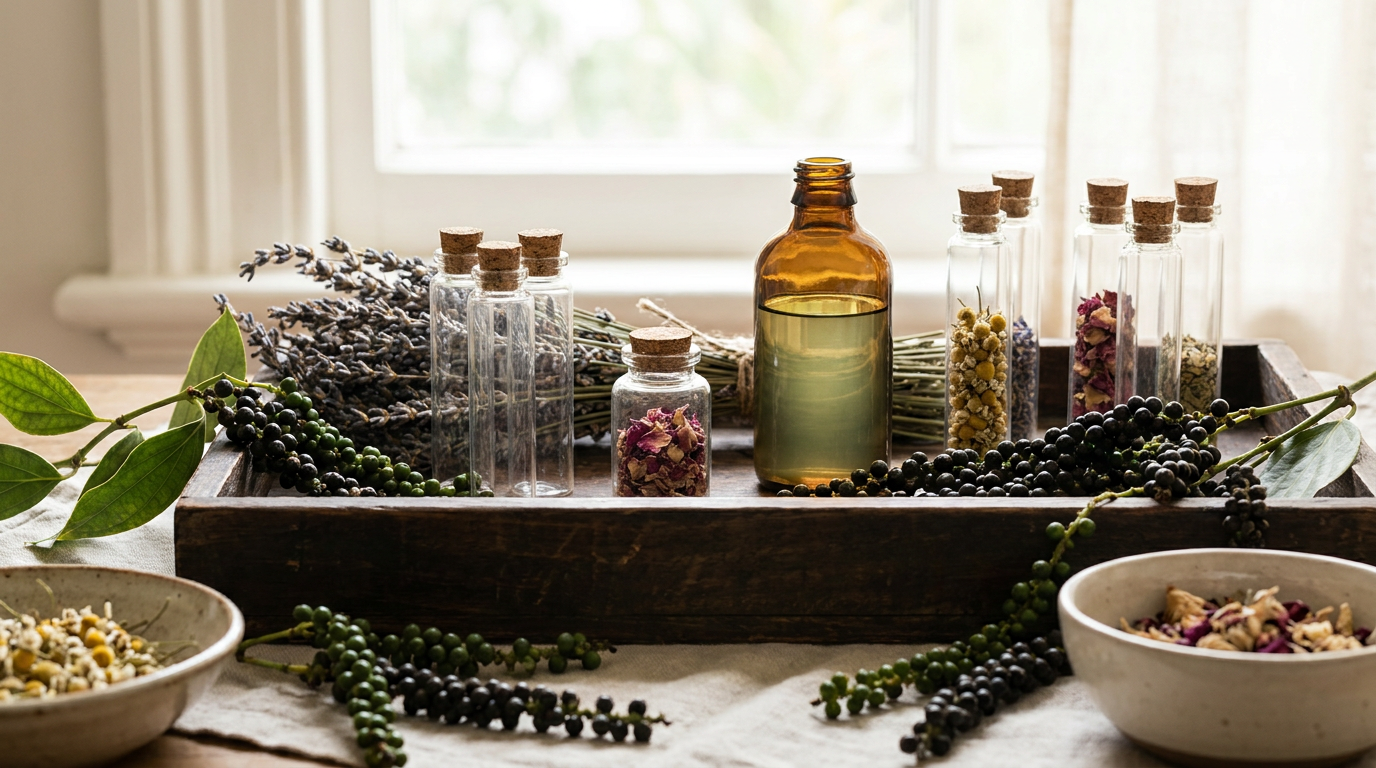
How to Make a Black Pepper and Sandalwood Solid Cologne Balm
A solid cologne balm is one of the easiest ways to carry a signature scent without a glass bottle rattling around in your bag. It warms slightly against skin, releases fragrance in layers, and travels through airport security without a second glance. Black pepper and sandalwood make a particularly good pairing for a first batch: black pepper brings a sharp, spicy top note that fades into something warmer, while sandalwood settles underneath as a soft, woody base that keeps the blend grounded for hours. This guide walks through a full solid cologne balm recipe from raw ingredients to finished tin, along with the dilution math, the mistakes most beginners make, and what a realistic outcome looks like.

Black Pepper Essential Oil
Our own Black Pepper Essential Oil, in sizes from 0.5 oz to bulk.
From $11.99
Shop Now →Why Black Pepper and Sandalwood Work So Well Together
In perfumery, scents are often described in three parts: top, middle, and base notes. Black pepper essential oil is a classic top note. It hits first, sharp and a little green, with a warmth that some people compare to fresh-cracked pepper on food. That first impression fades within the opening minutes, which is exactly what a top note is supposed to do. Sandalwood, by contrast, is a base note. It's soft, creamy, and slow to develop, and it's often the last thing you notice when a fragrance has been on skin for an hour or more.
Pairing a fast top note with a slow base note gives a solid cologne balm a sense of movement. It doesn't smell the same at nine in the morning as it does at three in the afternoon, and that shift is part of what makes a DIY solid perfume feel more interesting than a one-note scent. Some people also add a middle note, like cedarwood or a touch of vetiver, to bridge the two, but the two-oil version described here works well on its own for a first attempt.
What You'll Need
Ingredients
- 1 tablespoon beeswax pellets (yellow or white, food-grade or cosmetic-grade)
- 2 tablespoons carrier oil, such as jojoba, sweet almond, or fractionated coconut oil
- 1 teaspoon shea butter or cocoa butter (optional, for a smoother glide)
- 10 drops black pepper essential oil
- 8 drops sandalwood essential oil
- Optional: 2 to 3 drops cedarwood or bergamot for added depth (patch test any new oil separately first)
Tools
- A small heatproof glass measuring cup or a clean glass jar
- A saucepan for a double-boiler setup
- A digital kitchen scale or measuring spoons
- A wooden or silicone stirring stick
- Two or three small tins or shallow glass containers (1 to 2 ounce size works well)
- Labels and a fine-point marker for dating your batch
This recipe makes roughly two 1-ounce tins, enough to test the scent on skin over a few weeks before deciding whether to scale up.
Understanding Dilution: How Much Essential Oil Is Safe
Before mixing anything, it helps to understand dilution ratios, because this is where a lot of homemade beeswax cologne balm recipes go wrong. Essential oils are concentrated plant extracts, and using too much in a leave-on product like a solid perfume can increase the chance of skin irritation, especially for people with sensitive skin.
A commonly referenced guideline for leave-on body products is a 2 to 3 percent dilution, which works out to roughly 12 to 18 drops of essential oil per ounce of finished balm. The recipe above lands at 18 drops total (10 black pepper, 8 sandalwood) for about 2 ounces of base, which puts it near the lower end of that range, a reasonable starting point for a wearable cologne balm. If your skin tends to react easily to fragrance, start closer to 10 to 12 drops total and adjust upward in future batches once you know how your skin responds.
Black pepper essential oil in particular is worth using with a light hand. It has a warming quality on skin, and some people notice mild tingling if it's applied at a higher concentration or left undiluted. Keeping it inside a wax and oil base, rather than applying it neat, is part of what makes this format more forgiving than a straight oil roller.
Step-by-Step Instructions
Step 1: Set Up a Double Boiler
Fill a saucepan with an inch or two of water and set it over low to medium heat. Place your heatproof glass measuring cup or jar inside the saucepan so it sits above the waterline, not touching the bottom of the pan directly. This gentle, indirect heat prevents the wax and oils from scorching, which can dull the scent before you've even added your essential oils.
Step 2: Melt the Beeswax
Add the beeswax pellets to your glass container and let them melt slowly, stirring occasionally. Beeswax has a fairly high melting point (around 145 to 150°F), so this step takes a few minutes longer than you might expect. Resist the urge to crank up the heat to speed things along.
Step 3: Add the Carrier Oil and Butter
Once the beeswax is fully melted, stir in the carrier oil and the shea or cocoa butter, if using. Continue stirring until everything is combined into a single, glossy liquid with no streaks of unmelted wax. Remove the container from the heat at this point.
Step 4: Let the Mixture Cool Slightly
Set the container aside for about two to three minutes. You want the mixture to cool enough that it won't immediately evaporate your essential oils on contact (essential oils are volatile and heat-sensitive), but still liquid enough to pour smoothly. A good visual cue is when the surface starts to look slightly less shiny and a faint skin begins to form at the edges.
Step 5: Add the Essential Oils
Add the black pepper and sandalwood essential oils, along with any optional middle note, and stir gently but thoroughly for about 20 seconds. Because essential oils sit on top of oil-based mixtures at first, take an extra few stirs to make sure they're evenly distributed rather than pooled in one spot.
Step 6: Pour Into Tins
Working quickly before the mixture starts to set, pour it into your prepared tins. Fill them close to the rim but leave a small gap at the top, since the balm will contract slightly as it cools. If you're making more than one tin, pour in one continuous motion per tin rather than topping off, which can create a visible seam once solid.
Step 7: Cool and Cure
Let the tins sit undisturbed at room temperature for at least four hours, or until fully solid. Avoid the refrigerator for this step. Rapid cooling can cause the surface to crack or develop a frosted, uneven texture, which is purely cosmetic but not the polished look most people want from a finished balm.
Step 8: Cap, Label, and Rest
Once fully solid, cap the tins and label them with the ingredients and the date you made them. Solid perfume blends generally benefit from a short rest period of 24 to 48 hours before their first use, which gives the black pepper sandalwood cologne scent time to settle and round out. The fragrance right out of the pan often smells sharper than it will a day or two later.
Tips for a Better Balm
- Warm the tin, not your finger, to apply. A brief press of a fingertip against the balm's surface, or holding the tin in a closed hand for a few seconds, softens it just enough to pick up a small amount.
- Apply to pulse points. Wrists, the inside of the elbow, and the base of the neck tend to carry scent well because of natural warmth in those areas.
- A little goes a long way. A pea-sized amount is usually enough for one application. Over-applying a beeswax cologne balm essential oils blend doesn't necessarily make the scent last longer, it just concentrates the intensity in the first few minutes.
- Keep a small notebook of your ratios. If you plan to make more than one batch, jotting down exact drop counts makes it easy to recreate a version you liked or adjust one that felt too strong or too faint.
- Test on a small skin patch first. Apply a small amount to the inside of your forearm and wait 24 hours before using the balm more broadly, especially if this is your first time working with black pepper or sandalwood essential oil.
Common Mistakes to Avoid
- Adding essential oils while the mixture is too hot. High heat causes the more volatile aromatic compounds to evaporate off almost immediately, leaving a flatter, less complex scent in the finished balm.
- Skipping the scale or measuring spoons. Eyeballing wax-to-oil ratios is one of the most common reasons a homemade balm turns out too greasy (not enough wax) or too hard and difficult to scoop (too much wax).
- Using too many essential oils at once. A blend with five or six different oils can smell muddled rather than layered. Two or three well-chosen oils, like black pepper and sandalwood, usually create a cleaner result than a long ingredient list.
- Storing tins in direct sunlight or a hot car. Beeswax-based balms have a low melting point relative to other waxes, and heat exposure can cause the surface to soften, sweat, or separate.
- Not labeling batches. If you experiment with ratios across several attempts, an unlabeled tin becomes a guessing game a few weeks later.
Customizing Your Blend
Once you've made a basic batch, there's plenty of room to adjust. If you'd like more brightness up top, a drop or two of bergamot or sweet orange can lift the black pepper without overwhelming it. If you want the sandalwood to read more prominently, try shifting the ratio to 12 drops sandalwood and 6 drops black pepper. Some people also like adding a small amount of patchouli or cedarwood for extra depth in the base. Whatever you try, change one variable at a time and give the new blend its 24 to 48 hour rest period before judging the result, since fresh-poured balm rarely smells like its final, settled self.
Storage and Shelf Life
Stored in a cool, dry place away from direct sunlight, a beeswax-based solid cologne balm typically holds its scent and texture well for around 12 months, though the carrier oil you choose affects this somewhat. Oils like jojoba are naturally more stable over time than some nut oils, which can shorten shelf life slightly. If a batch ever develops an off smell, noticeable graininess, or a change in color, it's a reasonable sign to retire that tin and mix a fresh one rather than continuing to use it.
What to Expect
A well-made black pepper and sandalwood solid cologne balm generally offers a warm, spicy opening that mellows into a soft, woody base over the course of an afternoon. Because it's a solid, close-to-skin format rather than a spray, the scent tends to stay fairly personal rather than filling a room, which some people prefer for everyday wear. Results vary from person to person: individual body chemistry, skin type, and even the season can all change how a blend reads on you compared to how it smells straight from the tin. Anecdotal reports from people who enjoy DIY solid perfume suggest that pulse-point application and a light touch tend to give the most balanced, long-lasting impression, but your own experience may differ, and that's part of the fun of making a batch yourself rather than buying one off a shelf.
A Few Safety Notes
Essential oils are potent plant extracts and should always be diluted before contact with skin, as this recipe does through the wax and carrier oil base. Perform a patch test on a small area of skin and wait 24 hours before wider use, particularly if you have sensitive skin or haven't used black pepper or sandalwood essential oil before. Keep finished balms and undiluted essential oils out of reach of children and pets, avoid contact with eyes and mucous membranes, and discontinue use if any irritation develops. If you are pregnant, nursing, or under the care of a doctor, or if you have any ongoing skin sensitivities, consult a qualified healthcare provider before introducing new essential oils into your routine. This article is intended for general informational and cosmetic purposes only.